Sewing sherpa fabric takes careful steps and the right tools. You can pick real sherpa, which feels soft and warm. Faux sherpa is fluffy and costs less money. This fabric is thick and has a bumpy texture. Sew slowly and handle it gently to avoid mistakes. Some sherpa uses recycled materials. Most fake sherpa does not break down fast and can hurt the environment. Prepare well and work slowly for neat results.
Key Takeaways
- Pick the correct tools. Use a strong needle and quilting thread. This makes seams strong when you sew sherpa fabric.
- Wash your fabric first. Washing sherpa before sewing stops it from shrinking. It also helps cut down on shedding.
- Use clips, not pins. Clips hold layers together better in fluffy fabrics. This makes it easier to line up the edges.
- Sew slowly and check your work often. Take your time so you do not make mistakes. This helps your sherpa look neat.
- Finish the raw edges. Use a zigzag stitch or a serger. This keeps the fabric from fraying and makes your project tidy.
Tools for Sherpa Fabric
Needles, Thread, and Walking Foot
Sewing sherpa requires strong tools. Thick fabric can strain regular needles. Choose a darning needle or a heavy-duty needle. These needles pierce sherpa without bending. Quilting thread works well because it holds seams tightly. Standard thread may break under pressure.
Many sewists use a walking foot for sherpa. This tool helps feed the fabric evenly through the machine. Sherpa fleece is thick and can bunch up with a regular foot. The walking foot pulls both layers at the same speed. This reduces puckering and keeps stitches neat.
- Darning needle: Pierces thick sherpa easily.
- Quilting thread: Holds seams strong.
- Walking foot: Prevents bunching and improves stitch quality.
Using Clips and Interfacing
Clips help hold sherpa layers together. Pins can get lost in the fluffy texture. Clips stay visible and keep edges lined up. Use them along seams before sewing.
Soft interfacing adds structure to sherpa. It helps keep shapes crisp. Interfacing works best for collars, cuffs, or pockets. Choose a flexible type so the fabric stays comfortable.
Tip: Avoid ironing sherpa. Heat can damage the fibers and flatten the texture. Always handle the fabric gently.
A table can help organize your tools:
| Tool | Purpose |
|---|---|
| Darning needle | Pierces thick sherpa |
| Quilting thread | Holds seams strong |
| Walking foot | Feeds fabric evenly |
| Clips | Hold layers together |
| Soft interfacing | Adds structure |
Preparing and Cutting Sherpa fleece fabric
Prewashing and Handling Shedding
Prewashing helps keep your sherpa fabric in good shape. It can stop shrinking and reduce shedding. Follow these steps for best results:
- Wash the fabric in cold water on a gentle cycle.
- Turn the fabric inside out and place it in a laundry bag. This helps control shedding.
- Do not use bleach or fabric softeners. These can damage the fibers.
- Wash sherpa alone. Avoid mixing with dark clothes or linty items like towels.
- Air-dry the fabric to prevent pilling and keep it soft.
Tip: Never iron sherpa. Heat can flatten the pile and ruin the texture.
Cutting for Clean Edges
Cutting sherpa fabric takes care and the right tools. Sharp scissors work best. Cut one layer at a time if the fabric is thick. This gives you a clean edge and keeps the pile even. Always check the direction of the nap before cutting. All pieces should have the nap facing the same way for a neat look.
- Use sharp scissors for smooth cuts.
- Cut in a single layer if the pile is high.
- Watch the nap direction to keep the fabric looking even.
- Use clips instead of pins to hold layers together.
Marking and Aligning
Marking sherpa fabric can be tricky because of its fluffy surface. Washable markers work well for tracing patterns on the wrong side. The marks stay visible and do not get lost in the pile. Align the edges carefully before sewing. Use clips to keep everything in place.
Note: Take your time with marking and aligning. Careful prep leads to better sewing results.
Sewing Techniques with Sherpa
Stitch Settings and Tension
Sewing sherpa fabric requires special attention to your machine settings. Choose a longer stitch length, such as 3.0 to 3.5 mm. This helps the needle move smoothly through the thick layers. Short stitches can get lost in the pile and make seams look messy. Adjust the thread tension if you see puckering or loose stitches. Test your settings on a scrap piece before starting your project.
A walking foot is a helpful tool for sewing with sherpa. It pulls both the top and bottom layers at the same speed. This keeps the fabric from shifting and makes your stitches even. If you do not have a walking foot, sew slowly and guide the fabric gently with your hands.
Tip: Always use a strong needle, such as a darning or heavy-duty needle. This prevents skipped stitches and broken needles.
Preventing Stretch and Bulk
Sherpa fabric can stretch out of shape if you are not careful. Thick seams can also create bulky spots. Here are some ways to avoid these problems:
- Use a walking foot to feed thick layers evenly through your machine.
- Staystitch curved edges right after cutting. This keeps the fabric from stretching out.
- Use clips instead of pins. Clips hold layers together without getting lost in the pile.
- Trim seam allowances after sewing. This reduces bulk and helps seams lay flat.
- Finish raw edges with a zigzag stitch or serger. This prevents shedding and keeps your project neat.
Take your time when sewing with sherpa. Do not rush. Check your seams as you go to catch any mistakes early.
Right Side to Right Side Sewing
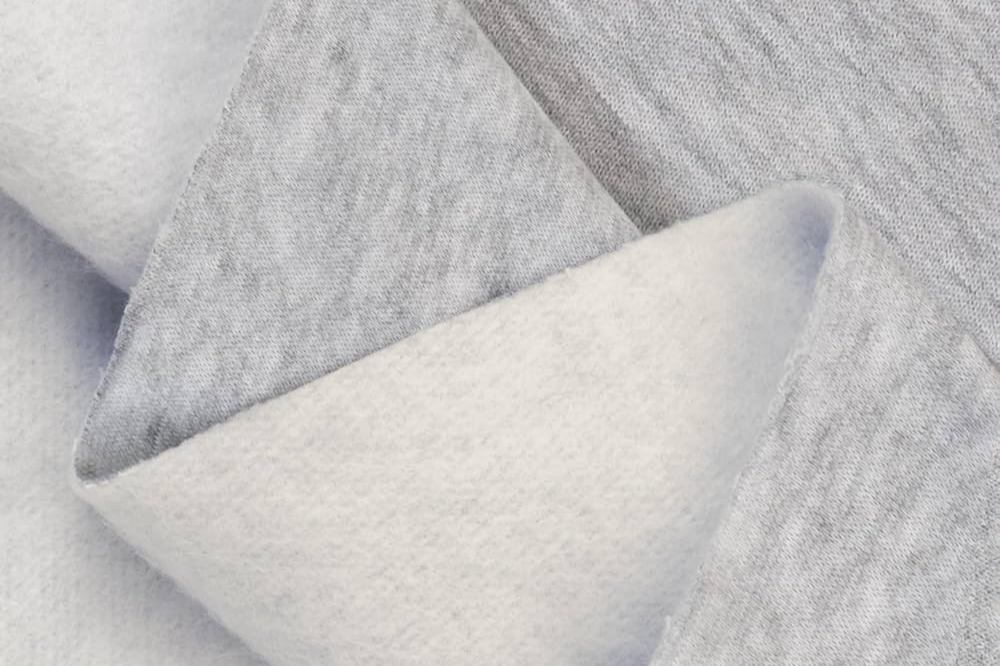
Place the right sides of the sherpa fabric together before you sew. The right side is the fluffy, soft side. Align the edges carefully and use clips to hold them in place. Sew along the seam line, keeping the layers even.
After sewing, trim away extra bulk from the seam allowance. Turn your project right side out and check the seams. If you see any gaps or uneven spots, fix them before finishing the edges.
Note: Sewing right sides together hides the seam inside your project. This gives your work a clean, professional look.
Tips for Sewing and Finishing
Finishing Edges
Sherpa fabric can shed if you do not finish those raw edges. The best way to keep your project neat is to secure every edge before you move on. You can use a zigzag stitch or a serger to lock the fibers in place. Trimming seam allowances helps reduce bulk, which is important because sherpa is thick. Folding and topstitching the edges also help keep the fabric flat and tidy.
Tip: Always check if you can separate the layers at the seam allowance. This makes it easier to finish the edges without adding extra bulk.
A simple table can help you choose the right finishing method:
| Method | Best For |
|---|---|
| Zigzag stitch | Most seams and edges |
| Serger | Fast, strong finishes |
| Topstitching | Flat, visible edges |
| Folding & hemming | Cuffs and hems |
Preventing Fraying
Sherpa fabric can fray and shed, especially after cutting. Here are some tips for sewing and keeping your project looking good:
- Use pinking shears to cut the edges in a zigzag pattern.
- Apply fray check liquid to the edges for extra security.
- Try fusible tape to bond and seal the edges.
- Finish all raw edges to stop shedding during and after sewing.
Note: Always keep a lint roller nearby. It helps clean up loose fibers and pet hair from your workspace.
Serge or Zigzag
A serger or a zigzag stitch works well for finishing sherpa. Both methods keep the edges from unraveling and make your seams stronger. If you do not have a serger, set your sewing machine to a wide zigzag stitch. Sew along the edge of the fabric to catch all the loose fibers.
Common challenges with sherpa include fabric distortion, machine issues, and human error. If you make a mistake, do not worry. You can fix most problems by trimming uneven edges, resewing seams, or using clips to realign layers. Always finish those raw edges to prevent shedding.
Cleaning up lint is important. Use a lint roller after each step to keep your project and sewing area tidy.
Pressing & Care Tips for Sherpa fabric
Press with a damp cloth on low heat
Sherpa fabric needs gentle care to stay soft and fluffy. High heat can damage the fibers and flatten the pile. When you need to press sherpa, always use a low heat setting. Place a damp cloth between the iron and the fabric. This protects the surface and keeps the texture looking good. Never press directly on the sherpa. The steam from the damp cloth helps remove wrinkles without harming the material.
Tip: Test the iron on a small hidden area first. This helps you check if the heat is safe for your fabric.
Caring for sherpa fabric does not stop at pressing. Washing and drying also play a big role in keeping your project looking new. Many people make mistakes that can ruin sherpa. Some common mistakes include:
- Not reading the care tag before washing.
- Using high or medium heat in the dryer.
- Washing in hot water.
- Using harsh chemicals or fabric softeners.
- Wringing out the fabric after washing.
- Storing sherpa under heavy items or in stuffy spaces.
To keep sherpa soft and clean, follow these steps:
- Use a mild detergent for delicate fabrics.
- Wash in cold water on a gentle cycle.
- Avoid fabric softeners, which can make sherpa stiff.
- Gently squeeze out water instead of wringing.
- Air dry flat on a towel to keep the shape.
- Add a small amount of white vinegar to the rinse cycle for extra softness.
- If you must use a dryer, choose the lowest heat setting.
Note: Spot clean stains when possible. Frequent washing can wear out sherpa faster.
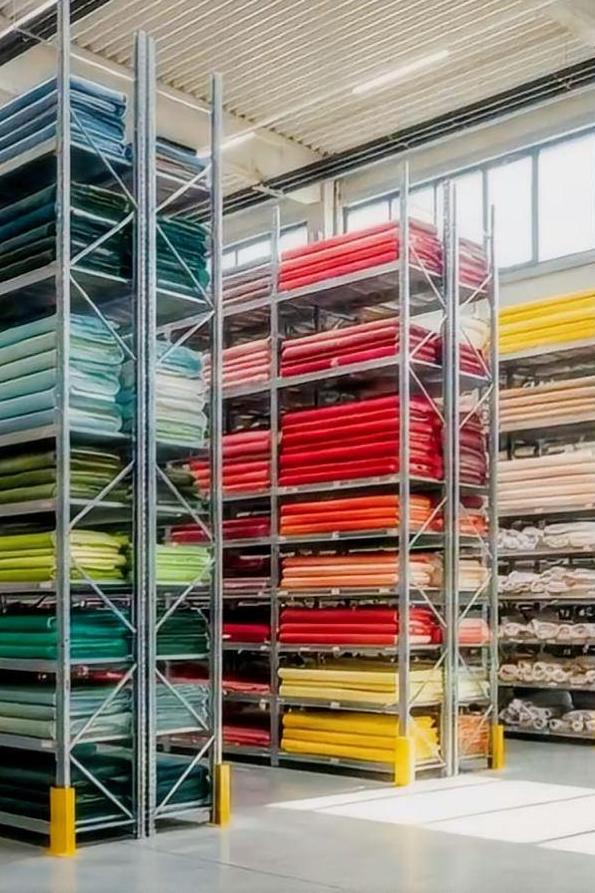
Proper storage helps sherpa last longer. Fold sherpa loosely or roll it to keep air between the fibers. Store in a breathable cotton bag in a cool, dry place. Avoid compressing the fabric or storing it under heavy items. This prevents matting and keeps the sherpa fluffy.
Taking these steps will help your sherpa projects stay soft, clean, and comfortable for a long time.
Sewing sherpa fabric is easier if you use the right steps. Getting ready before you start makes your project look nice. Here are some tips experts suggest:
- Use a zigzag stitch or bias tape to finish raw edges. This helps stop the fabric from shedding.
- A walking foot helps you sew thick layers without trouble.
- Clips are better than pins for holding pieces together.
- Go slow and check your work as you sew.
Plan where you will cut and measure everything first. This helps you make fewer mistakes. If you have problems, do not worry. With practice and patience, you will get better results.
FAQ
What needle should I use for sherpa fabric?
Use a heavy-duty or darning needle. These needles can pierce thick sherpa without bending or breaking. Standard needles may not work well with this fabric.
How do I stop sherpa fabric from shedding?
Prewash the fabric and finish all raw edges with a zigzag stitch or serger. Use a lint roller to clean up loose fibers during and after sewing.
Can I iron sherpa fabric?
Never iron sherpa directly. High heat can flatten the pile and damage the fibers. If you must press, use a damp cloth and set the iron to low heat.
What is the best way to cut sherpa fabric?
Cut one layer at a time using sharp scissors. Always check the nap direction before cutting. Use clips to hold layers together for clean, even edges.
How do I keep seams from getting bulky?
Trim seam allowances after sewing. Use a walking foot to feed layers evenly. Finish seams with a zigzag stitch or serger to reduce bulk and keep edges neat.